Step-by-Step Guide to Integrating Shared or User Calendars in Outlook
You can add a shared or user calendar to Outlook by following these steps:
- Sign in to cPanel.
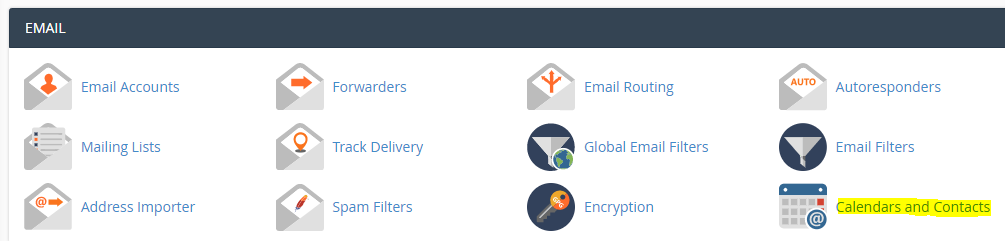
- To set up a shared calendar for the whole organization, go to Calendars and Contacts.
-
Open Outlook: Open the Outlook application on your computer.
-
Go to File: Click on the File menu at the top-left corner of the Outlook window.
-
Account Settings: Select Account Settings from the File menu.
-
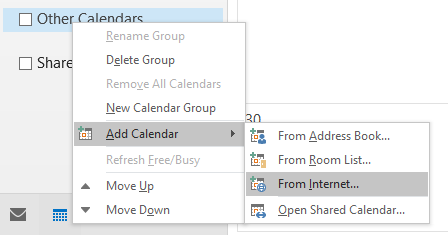
Click on the Internet Calendars tab: Click on the Internet Calendars tab.
-
Add: Click on the New button.
-
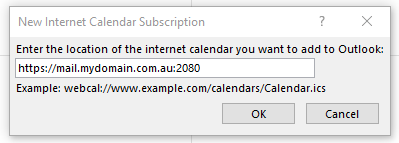
Enter the Calendar URL: Enter the URL of the shared calendar you want to add. You can get this URL from the person who shared the calendar with you.
-
Click on Add: Click on the Add button.
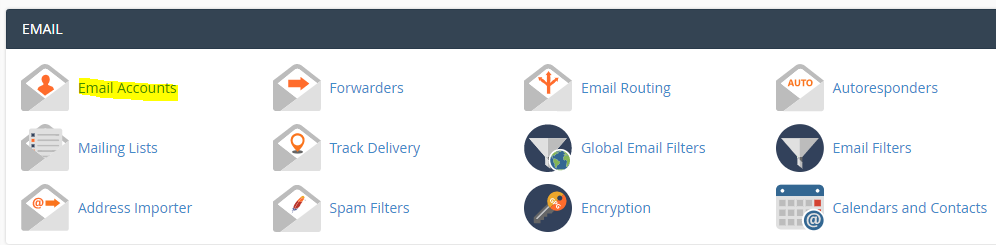
- To set up a shared calendar for a user, go to Email Accounts.
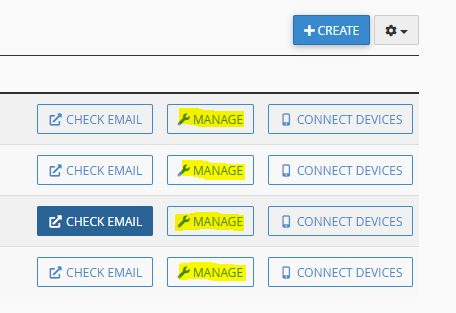
- Click Manage.
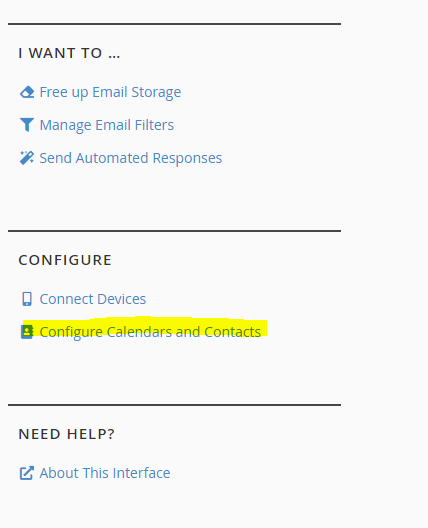
- Click Configure Calendars and Contacts.
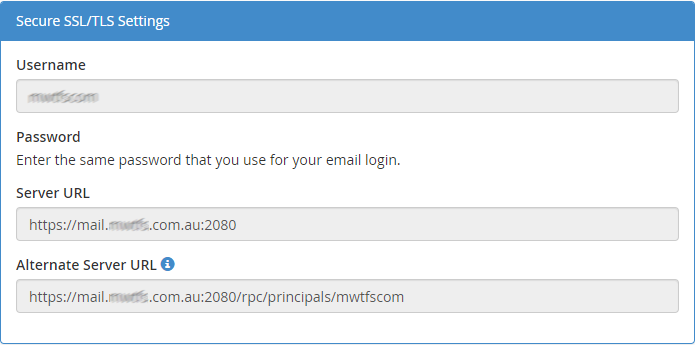
- Use the server setting on this page to set up for a user.

- Rename the calendar: You can rename the calendar to something more meaningful by right-clicking on it and selecting Properties and then entering a new name in the Name field.
- Click OK: Click OK to close the properties window.
- Check the shared calendar: The shared calendar should now appear in your calendar list in Outlook.
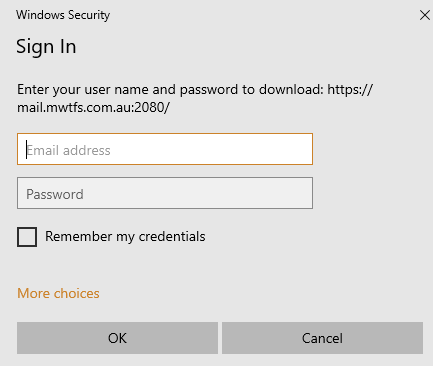
It's important to note that, the steps may vary depending on the version of Outlook you are using. Also, make sure that the person who shared the calendar with you has given you the necessary permissions to view it, or you may not be able to access it.
